10 min read
During system administration, setting up firewall rules is a crucial step in controlling traffic and protecting your website from external threats. This article provides a detailed guide on how to add a new rule in the W7SFW system.
Preparation before you beginLink to heading
Before adding a new rule to your website, make sure the following conditions are met:
- System account: Ensure that you have successfully registered and activated your account on W7SFW.
- Website added: Your domain must already be configured and pointed to the W7SFW system.
How to add a rule to a domainLink to heading
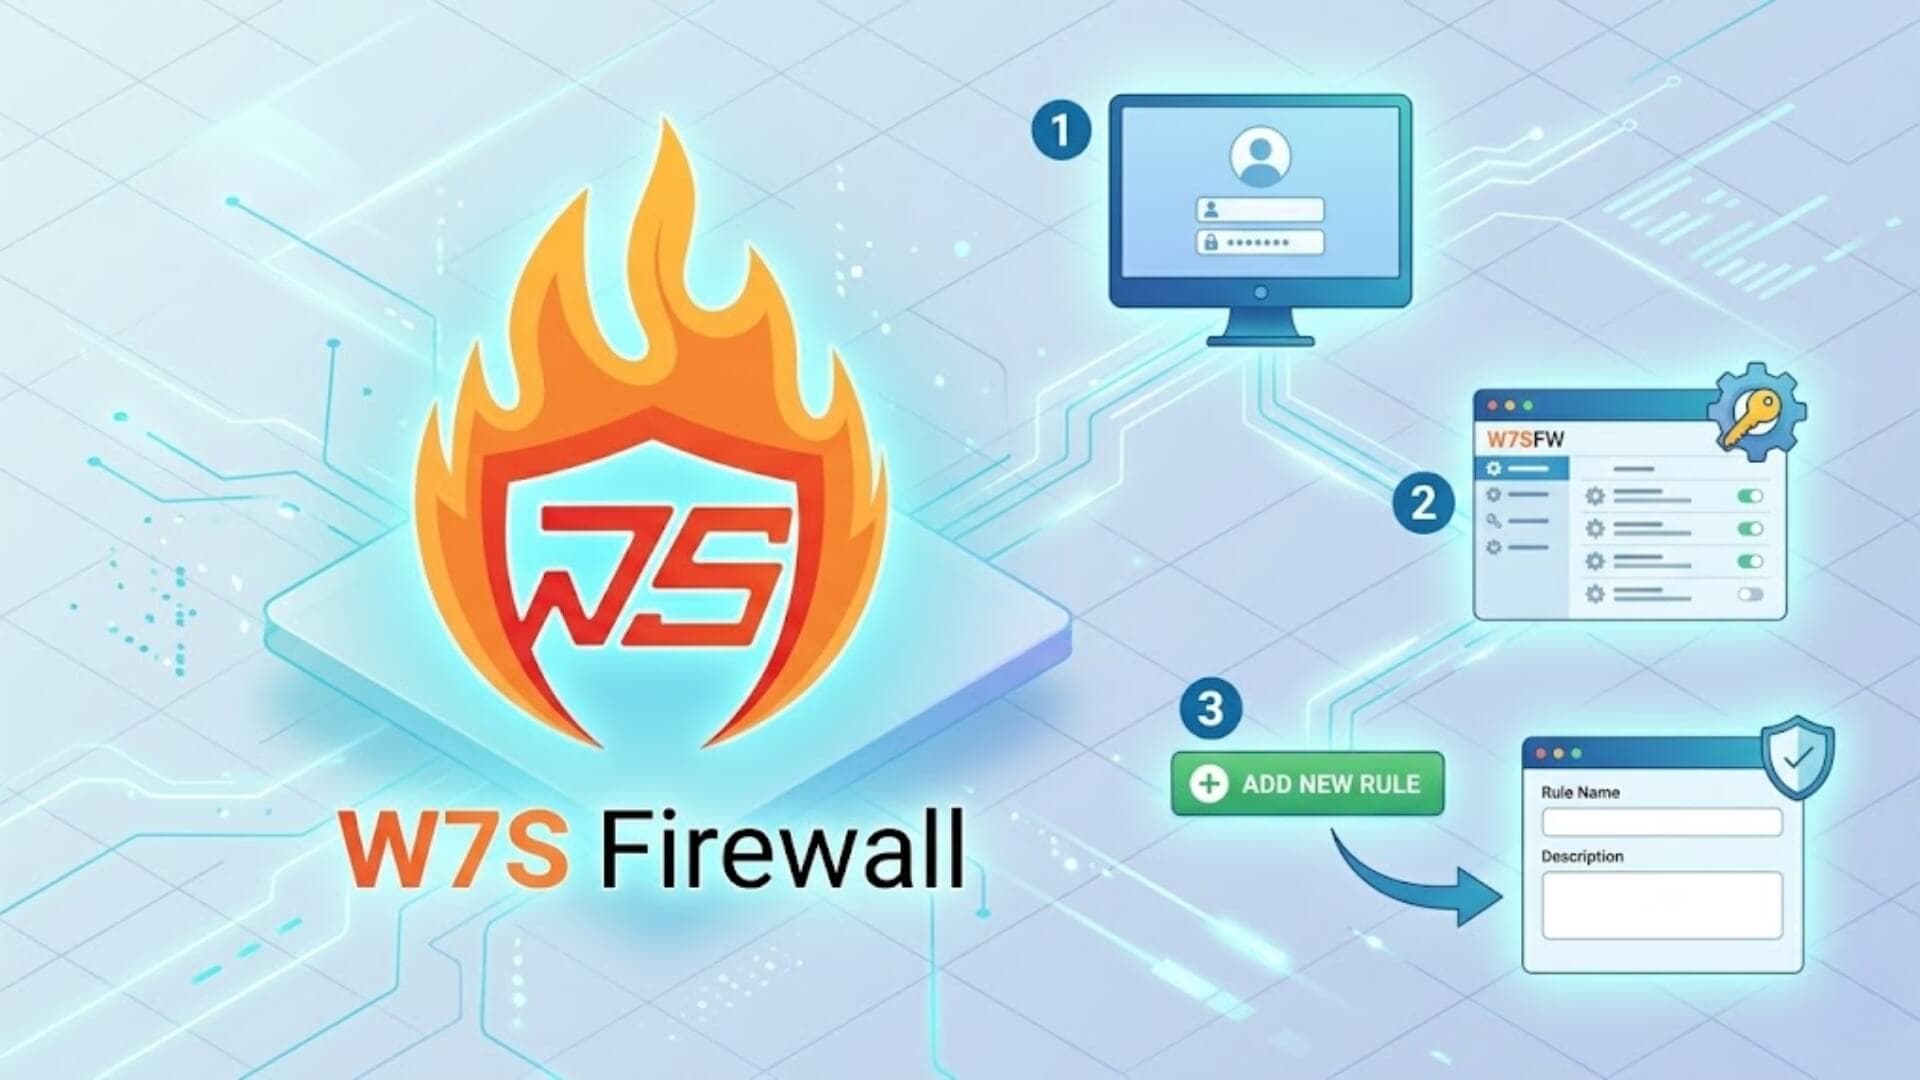
Follow these steps to add a new rule to your domain:
Step 1: Access the W7SFW administration interface and select the correct domain you want to configure.
Step 2: From the left-hand menu, choose Rules. Then, in the main interface, click the + New Rule button to begin the setup process.

Step 3: Enter rule details
After clicking New Rule, an Add Rules panel will appear. You need to fill in the necessary information to allow specific requests to pass through the firewall.
Note: W7SFW operates under a Deny All (or Blacklist All) mechanism. This means that, by default, all requests are blocked. When you add a rule, you are explicitly granting permission (Allow) for access to a specific path without requiring an extension.
In this panel, provide the following details:
- Name: Assign a name for easier management (e.g., Allow login).
- Description: Provide a brief explanation of the rule’s purpose.
- Method: Select the request method (e.g., POST).
- Request Path: Enter the path you want to allow access to. For WordPress login, input
wp-login.php. - Query Parameter: Add query parameters if necessary.
Once completed, click Add Rule to save.

Step 4: Verify the result
After successfully adding the rule, you can send a request to the configured path (e.g., wp-login.php) without being blocked by W7SFW. As illustrated, when a POST request is sent to the WordPress login page, the system returns a 200 OK status, allowing normal access to the login interface without enabling any extension.

If you disable this rule, the system will revert to its default state of blocking all invalid requests.

At that point, if you attempt to send a POST request to /wp-login.php, W7SFW will immediately block it. As a result, your request will not reach the destination server, and the website will not be able to return the expected response.

>>> Learn more: Guide to adding a new website on W7SFW
ConclusionLink to heading
Managing rules in W7SFW allows you to proactively and flexibly control access traffic to your website. By precisely configuring necessary paths, you can ensure stable system performance while maintaining strict security through the firewall’s default blocking mechanism.
It is advisable to regularly review your existing rules and remove any that are no longer in use, in order to avoid unnecessary security vulnerabilities within the system.